
A Simple Daily Routine for Optimal Muscle Recovery
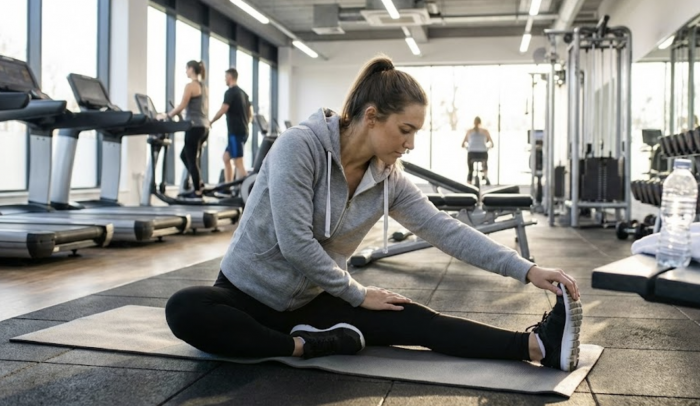
It is a common mistake every fitness enthusiast makes: you crush a high-intensity session, look at the clock, realise you are late, and sprint to the shower, skipping the cool-down entirely. While the workout builds the muscle, it is the recovery that cements the gains.
Skipping post-workout stretches leaves muscles contracted, limits blood flow, and delays the repair process. This guide provides a simple, effective recovery stretching routine to help you relax tight muscles, reduce stiffness, and prepare your body for tomorrow’s challenges.
Jump To:
- Why is Stretching Important After Exercise?
- Does stretching help DOMS?
- Recovery Stretching Principles
- A Simple 10-Minute Full-Body Recovery Routine
- Summary Table: The 10-Minute Routine
- Modifications for Specific Issues
Key Takeaways (TL;DR)
- Recovery is Not Optional: Skipping the cool-down limits blood flow and leaves muscles contracted, increasing the risk of injury and stiffness.
- Static vs. Dynamic: Save the bouncing for the warm-up. Post-workout recovery requires static stretching (holding still) to lengthen muscle fibres.
- The “30-Second Rule”: Hold every stretch for 30 to 60 seconds. It takes this long for the muscle’s natural defence mechanism (the stretch reflex) to relax.
- Comfort Over Pain: You should feel mild tension, not sharp pain. If it hurts, you are pushing too hard and risking damage.
Why is Stretching Important After Exercise?
Think of your muscles like a rubber band. If you keep them pulled tight (contracted) without ever releasing the tension, they eventually lose their elasticity and become prone to snapping.
Recovery stretches serve three primary functions:
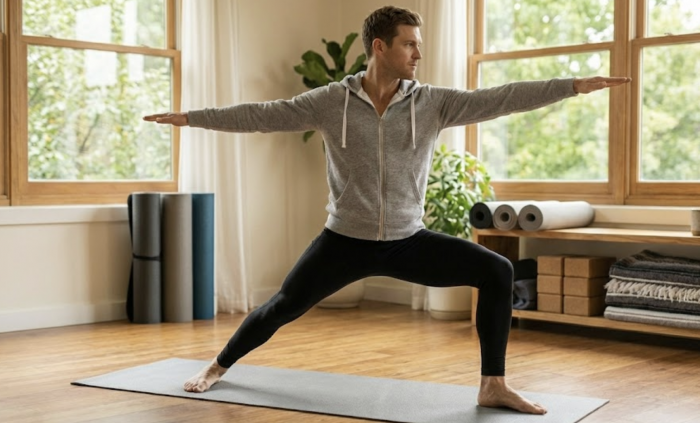
- Flushing Metabolic Waste: Stretching increases blood circulation, helping flush lactic acid and delivering oxygen-rich blood to aid tissue repair.
- Resetting the Nervous System: Slow, static stretching signals your parasympathetic nervous system (rest-and-digest) to take over, lowering cortisol levels.
- Restoring Range of Motion: It prevents the permanent shortening of muscle fibres, keeping you mobile.
Does stretching help DOMS?
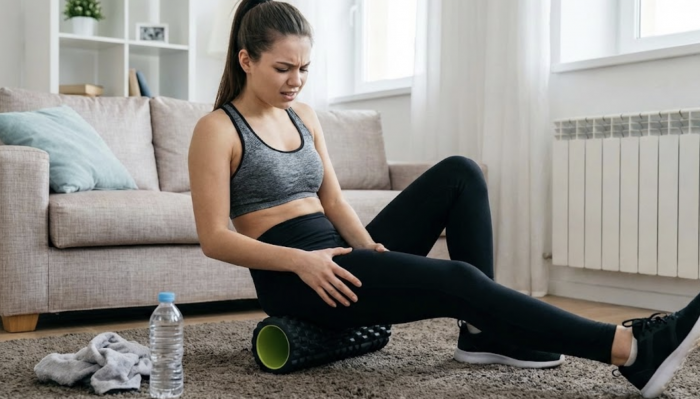
Microscopic tears in muscle fibres cause delayed-onset muscle soreness (DOMS). While stretching does not “cure” these tears instantly, it does significantly alleviate the stiffness and tightness associated with DOMS, making exercise for muscle pain management much more bearable. If you are looking for expert advice on alleviating muscle soreness, make sure to read our blog, where a physio provides key tips and tricks to ease the pain.
Recovery Stretching Principles
Before diving into the movements, effective maintenance stretches require the right approach.
1. Types of Stretches
For recovery, prioritise static stretching. Unlike dynamic stretching (bouncing or moving) used to warm up, static stretching involves holding a position to lengthen the muscle fibre while the body is at rest.
2. Duration and Timing
- Timing: The best window is immediately post-workout, while muscles are warm, or right before bed to aid sleep.
- Duration: Hold each stretch for 30 to 60 seconds. This is the time required for the “stretch reflex” (your muscle fighting back) to subside and deep relaxation to occur.
3. Intensity
How to relax tight muscles without hurting them comes down to intensity. You should feel a “mild discomfort” or tension, but never sharp pain. If you feel pinching or sharp pain, ease off immediately.
A Simple 10-Minute Full-Body Recovery Routine
This routine covers the major muscle groups. Perform this cycle once for a quick reset, or twice if you are feeling particularly stiff. Focus on deep, slow breathing throughout.
Phase 1: Lower Body & Hips (Lying Down)
These movements target the areas that take the biggest beating during running, lifting, or cycling.
1. Figure-Four Stretch (Glutes & Hips)
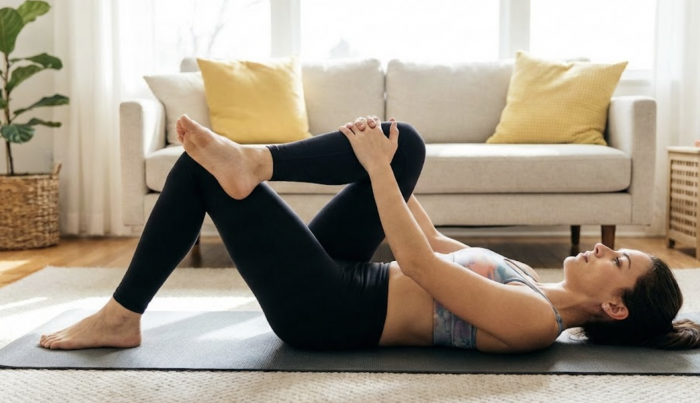
- The Move: Lie on your back, knees bent, feet flat. Cross your right ankle over your left knee (resembling the number 4). Grasp the back of your left thigh and gently pull it toward your chest.
- The Feeling: You should feel a deep stretch in the outer right glute and hip.
- Hold: 45 seconds per side.
- Why it helps: Releases tension in the piriformis, which can often cause lower back pain.
2. Kneeling Hip Flexor Stretch (Hips & Quads)
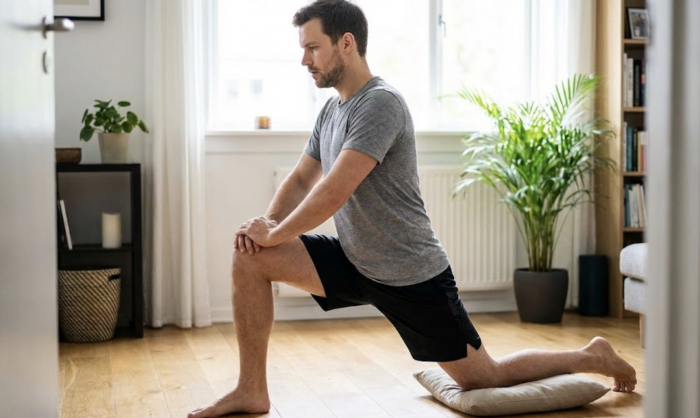
- The Move: Kneel on one knee (use a cushion if needed), with the other foot flat in front of you (like a lunge). Gently push your hips forward while keeping your torso upright and abs tight.
- The Feeling: A distinct pull in the front of the hip and thigh of the back leg.
- Hold: 45 seconds per side.
- Why it helps: Counteracts the tightness caused by sitting at a desk all day.
3. Lying Hamstring Stretch (Back of Thigh)
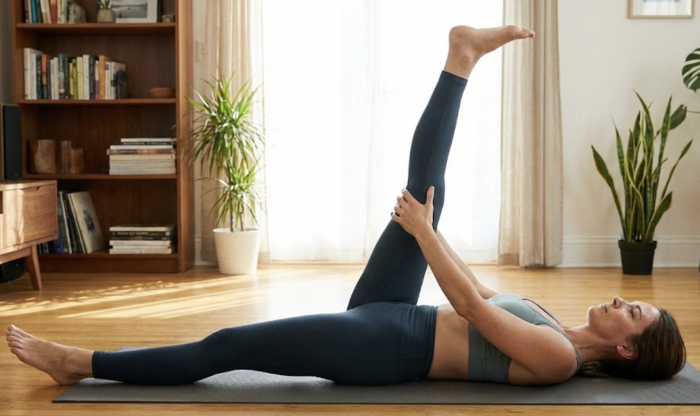
- The Move: Lie on your back with one leg extended straight on the floor. Raise the other leg straight up toward the ceiling. Hold the back of your thigh (not the knee) with your hands or a towel. Gently pull the straight leg toward your head.
- The Feeling: A stretch running down the back of the lifted leg.
- Hold: 45 seconds per side.
- Why it helps: Loosens tight hamstrings that contribute to lower back strain.
Phase 2: Upper Body & Core (Sitting/Lying)
As you move to the floor, these stretches help open up the posture and signal the body that the work is done.
4. Seated Torso Twist (Lower Back & Core)
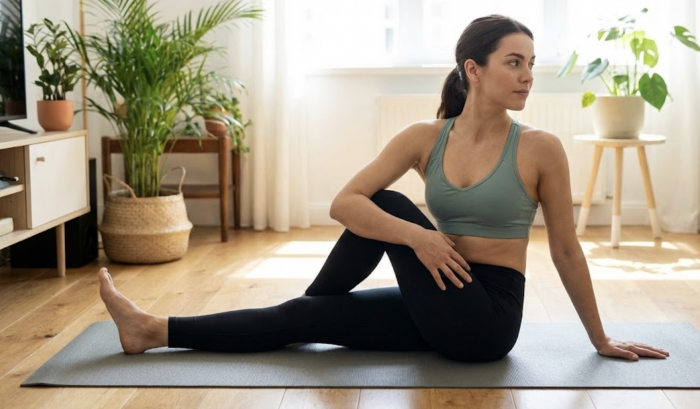
- The Move: Sit with legs extended. Bend your right knee and step your right foot over your left leg, planting it flat on the ground. Place your right hand behind you for support. Hook your left elbow around your right knee and gently twist your torso to the right.
- The Feeling: A rotational stretch through the spine and outer hip.
- Hold: 45 seconds per side.
- Why it helps: Wrings out tension in the spine and improves rotational mobility.
5. Triceps and Shoulder Stretch (Arms & Shoulders)
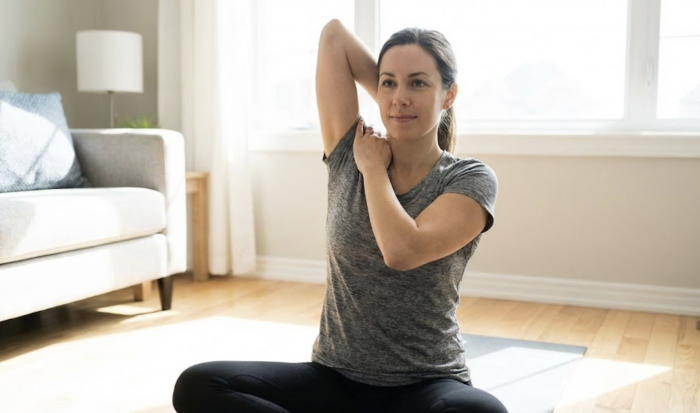
- The Move: Sit tall. Raise your right arm, bend the elbow, and reach your hand down the centre of your back. Use your left hand to press down on the right elbow gently.
- The Feeling: A stretch along the back of the upper arm and into the shoulder.
- Hold: 30 seconds per side.
- Why it helps: Essential after pressing movements (pushups, bench press) or overhead lifting.
6. Child’s Pose (Upper Back & Total Relaxation)
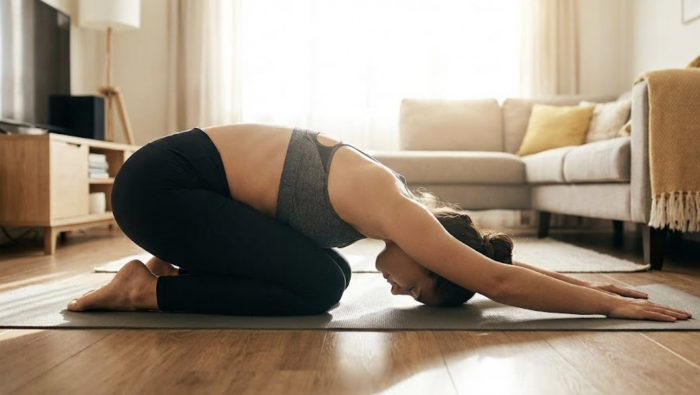
- The Move: Kneel on the floor, sitting your hips back onto your heels. Fold forward, resting your forehead on the floor and extending your arms straight out in front of you.
- The Feeling: A gentle lengthening of the spine, lats, and shoulders.
- Hold: 60 seconds.
- Why it helps: This is the ultimate “power down” move. It stretches the back extensors and lets you focus solely on your breath.
Summary Table: The 10-Minute Routine
| Exercise | Target Area | Duration (Total) |
| Figure-Four | Glutes/Hips | 1.5 Min |
| Kneeling Hip Flexor | Hips/Quads | 1.5 Min |
| Lying Hamstring | Hamstrings | 1.5 Min |
| Seated Torso Twist | Spine/Core | 1.5 Min |
| Triceps Stretch | Arms/Shoulders | 1 Min |
| Child’s Pose | Back/Relaxation | 1 Min |
| Transitions | — | 2 Min |
Here is a section dedicated to modifications. These ensure the routine is accessible even if you are managing specific pain points or injuries.
Modifications for Specific Issues
If you are dealing with chronic lower back pain or sensitive knees, some standard stretches can inadvertently worsen the condition. Use these modifications to get the benefits of recovery without the risk.
1. For Knee Issues
Knee pain often stems from tight quads or hips, but putting direct pressure on the kneecap (patella) or forcing deep flexion can be painful.
- Modify the Kneeling Hip Flexor Stretch:
- The Issue: Kneeling places direct pressure on the patella.
- The Fix: Standing Lunge Stretch. Stand with feet hip-width apart. Step one foot back and keep the back leg straight with the heel off the ground. Tuck your pelvis under (squeeze your glutes) and sink slightly until you feel the stretch in the front of the hip. No knee-to-floor contact required.
- Modify Child’s Pose:
- The Issue: Deep knee flexion (bending) can strain the joint.
- The Fix: Puppy Pose. Instead of sitting your hips all the way back onto your heels, keep your hips high in the air (stacked over your knees) while lowering your chest and arms to the floor. Doing this stretches the back without compressing the knee joint.
- Modify Figure-Four:
- The Issue: If the hips are tight, pain can transfer to the knee.
- The Fix: Seated Figure-Four. Sit on a chair. Cross your right ankle over your left knee. Keep a tall spine and gently lean forward from the hips. Doing this removes the gravity load on the knee.
2. For Lower Back Pain
When the lower back is sensitive, avoid exercises that force the spine to round aggressively or twist without support.
- Modify Lying Hamstring Stretch:
- The Issue: Extending one leg straight on the floor can cause the lower back to arch, creating tension.
- The Fix: Keep the non-working leg bent. When stretching the right hamstring in the air, keep your left foot flat on the floor with the knee bent. Doing this creates a “posterior pelvic tilt,” forcing your lower back to stay flat and supported against the ground.
- Modify Seated Torso Twist:
- The Issue: Twisting while sitting requires muscular effort to keep the spine upright; if you slouch, you risk compressing the discs.
- The Fix: Lying Supine Twist. Lie on your back. Hug your knees to your chest, then slowly let both knees fall to the right side while keeping your left shoulder pinned to the floor. The floor supports your spine, allowing for a safer, passive stretch.
- General Rule for Back Pain:
- Avoid “locking out” your knees during standing stretches. Always keep a “micro-bend” in the knees to reduce the pull on the sciatic nerve and lower back.
Important Note: Always consult a medical professional if you experience any pain or discomfort while stretching.
Enhance your mobility and recovery with FitKit today
Treat your recovery with the same discipline you use for your training. The 10 minutes you spend on this recovery stretching routine aren’t just about cooling down—they are an investment in your next workout. By prioritising these post-workout stretches, you do more than just improve flexibility; you actively reduce the risk of injury, manage daily aches, and ensure your body is ready to perform at its peak again tomorrow. Real progress happens when your body repairs itself during rest. Make these maintenance stretches a non-negotiable part of your schedule. Don’t skip the R&R; your future self will thank you for it. Make sure to check out our range of recovery products, including foam rollers and exercise mats, for added comfort and recovery.
Comments are closed here.